Transformer Soldering Irons: Elevate Your DIY Projects
Take your DIY electronics to the next level with transformer soldering irons. These advanced tools offer precise heat control and stability. They are better than basic soldering tools because they keep a steady temperature. This ensures clean joints and reliable results for all skill levels.
Find out how transformer soldering irons make your projects easier. From simple repairs to complex circuit boards, they are a game-changer. This guide will show you their unique technology, power, and why they’re essential for serious hobbyists. You’ll learn how to choose the right one, use it safely, and work more efficiently in your workshop.
Key Takeaways
- Transformer soldering irons provide unmatched heat stability for precision soldering.
- lutownice transformatorowe designs enhance durability for long-term use in electronics projects.
- They reduce errors by maintaining steady temperatures during extended use.
- These tools suit both small repairs and large-scale electronic builds.
- Proper use of transformer soldering irons improves project quality and safety.
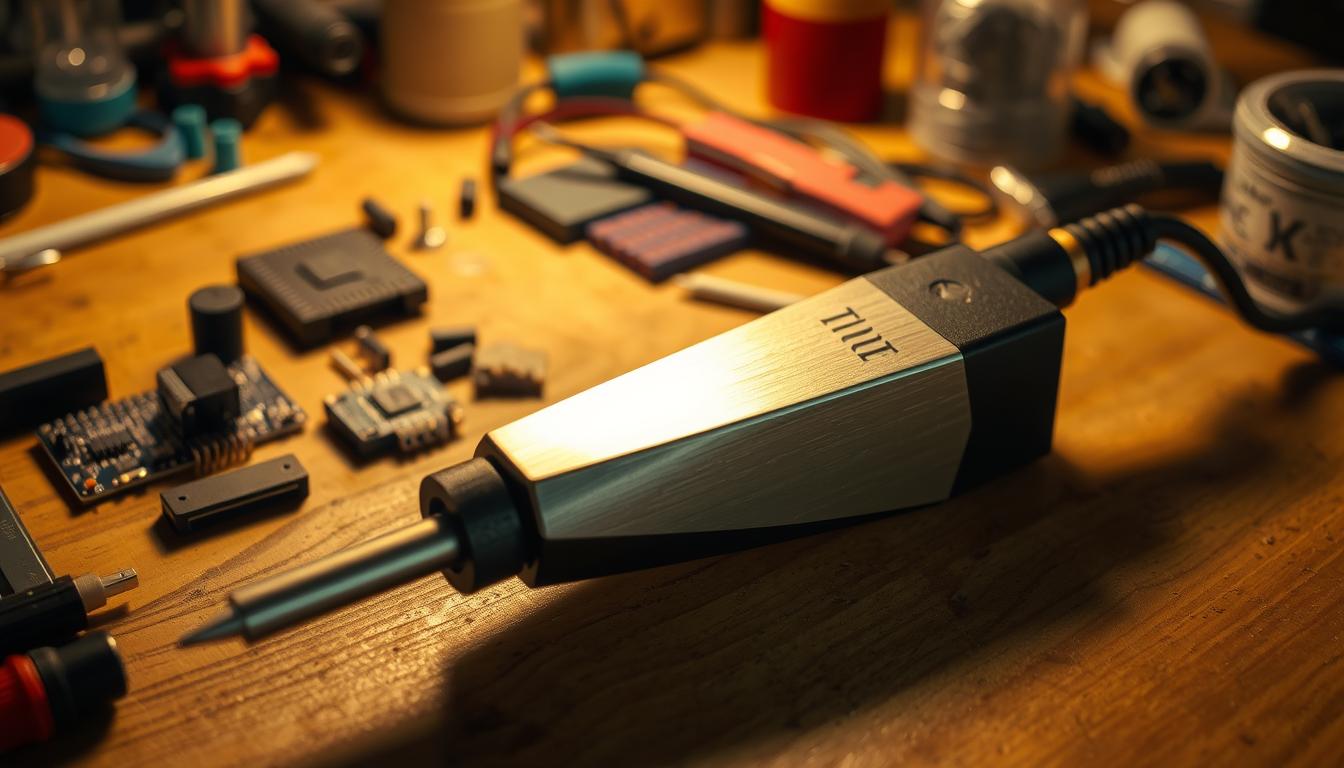
Understanding Transformer Soldering Irons
Transformer soldering irons are top picks for electronic repair tools. They use transformer technology to control power flow. This means they provide steady heat, perfect for fixing circuit boards or working with delicate electronics.
What Makes Them Different from Other Soldering Tools
Unlike butane irons that need fuel, or soldering stations that need an external power source, transformer irons have it all built-in. They have a transformer that changes voltage efficiently. This gives them consistent energy, unlike other tools that can have power ups and downs.
Core Components and Technology
- Transformer unit: Converts electrical input into stable power.
- Heating elements: Made from materials like Kanthal alloy for even heat distribution.
- Temperature control systems: Digital or analog interfaces adjust heat settings from 300°C to 450°C.
These soldering iron components work together to keep precision high. This is key for fixing sensitive electronics.
Power and Heat Specifications
These irons range from 40W to 200W, with more power for bigger projects. A 100W iron is great for hobbyists, while 150W+ is better for industrial use. They heat up in 30-60 seconds, faster than traditional irons.
The Evolution of Lutownice Transformatorowe in Modern DIY
The soldering iron history shows a big change from big factories to small DIY spaces. What was once only for factories is now used by hobbyists and inventors.
Big changes in soldering technology development made these tools better. Old irons had trouble controlling temperature, but now they have adjustable heat and are lighter. New features like ceramic heating and digital controls make electronic repair equipment easy to use for small projects.
- 1950s: Heavy, fixed-temperature units dominated industrial repair shops
- 1990s: Compact designs emerged for hobbyist use
- 2020s: Smart features like auto-shutoff and USB connectivity
The DIY electronics evolution has grown fast as tools got easier to use. Today’s irons mix old-school transformer power with new comfort. Makers can now work on big projects like circuit boards and IoT devices, using tools once only for pros. This mix of old and new makes transformer soldering irons key for both fixing and creating.
Key Benefits of Using Transformer Soldering Irons
Transformer soldering irons are perfect for electronics projects. They have an analog design that keeps the temperature stable. This is crucial for complex circuits where uneven heat can cause failures.
These irons are built to last, unlike flimsy tools. They are a smart choice for those who use them often. Even though they cost more upfront, they save money in the long run.
Superior Heat Stability and Control
These irons keep the temperature steady, even when used for a long time. This prevents cold joints, a common problem in sensitive electronics. Their quick thermal recovery helps fix issues without harming components.
As one engineer said, „The steady heat cuts rework time by 40%.” – TechCraft Labs, 2023.
Durability and Longevity Factors
These irons are made to last, with a robust build that reduces breakdowns. They have fewer parts than digital models, which means less wear and tear. With proper care, they can last for over a decade.
Value for Money in the Long Run
Even though they cost more than basic irons, they are worth it in the long run. They need fewer replacements and less maintenance, saving you money. A 2022 study showed users save 30% over five years compared to disposable tools.
How to Choose the Right Transformer Soldering Iron for Your Projects
Choosing the right transformer soldering iron is key. It’s about finding the perfect mix of power, precision, and price. This DIY equipment guide will help you make the right choice.
“A good soldering iron should adapt to your workflow, not limit it.”
First, think about the wattage requirements of your project. For small electronics, 30–60W is enough. But for bigger tasks, you’ll need 100W+. Make sure the iron’s temperature range fits your needs, usually 200–450°C.
- Tip shape: chisel tips for general use, conical for tight spaces
- Handle ergonomics: anti-slip grips reduce fatigue during long projects
- Cord quality: braided cables last longer than plastic-jacketed alternatives
Prices vary a lot. Basic irons like the Hakko FX888 or Weller WES51 start at $30. But top models, like the Aoyue 858X, cost over $150. Choose brands with interchangeable tips for more flexibility.
Don’t forget about your workspace. Good ventilation is crucial, especially with fume-producing irons. Also, get a quality stand for safe tip storage. With these steps, your projects will come to life.
Top Transformer Soldering Iron Models for 2023
Whether you’re a hobbyist or a pro, finding the right best soldering irons is key. It’s all about balancing price and performance. This guide will help you find the perfect one, no matter your budget or skill level.
Budget-Friendly Options Under $50
For beginners and casual users, affordable electronics tools are a great start. The Weller WD0010 offers 40W heat for simple repairs. The Aoyue 1688 comes with interchangeable tips for different tasks.
These models save money by not having digital controls. But they still get the job done.
Mid-Range Professional Quality Tools
Mid-range options like the Weller WD1010 and Hakko FX888 offer great value. They heat up to 100W and have temperature control. This makes them perfect for working on circuit boards and small parts.
These professional soldering equipment tools also have ergonomic handles and longer warranties. They’re great for those who use them a lot.
High-End Models for Serious DIY Enthusiasts
For the serious DIY folks, the Hakko FX888 and Metcal MX5000 are top choices. They have digital displays, thermal management, and durable tips. Soldering iron reviews say they’re great for complex projects like SMD soldering.
Make sure to check the warranty. Hakko’s 5-year coverage is a standout in this category.
Essential Techniques for Mastering Your Transformer Soldering Iron
Mastering soldering techniques begins with practice. Clean joints and strong connections come from steady hands and precise temperature control. Before heating, clean components with isopropyl alcohol. This step prevents weak bonds and ensures a strong connection.
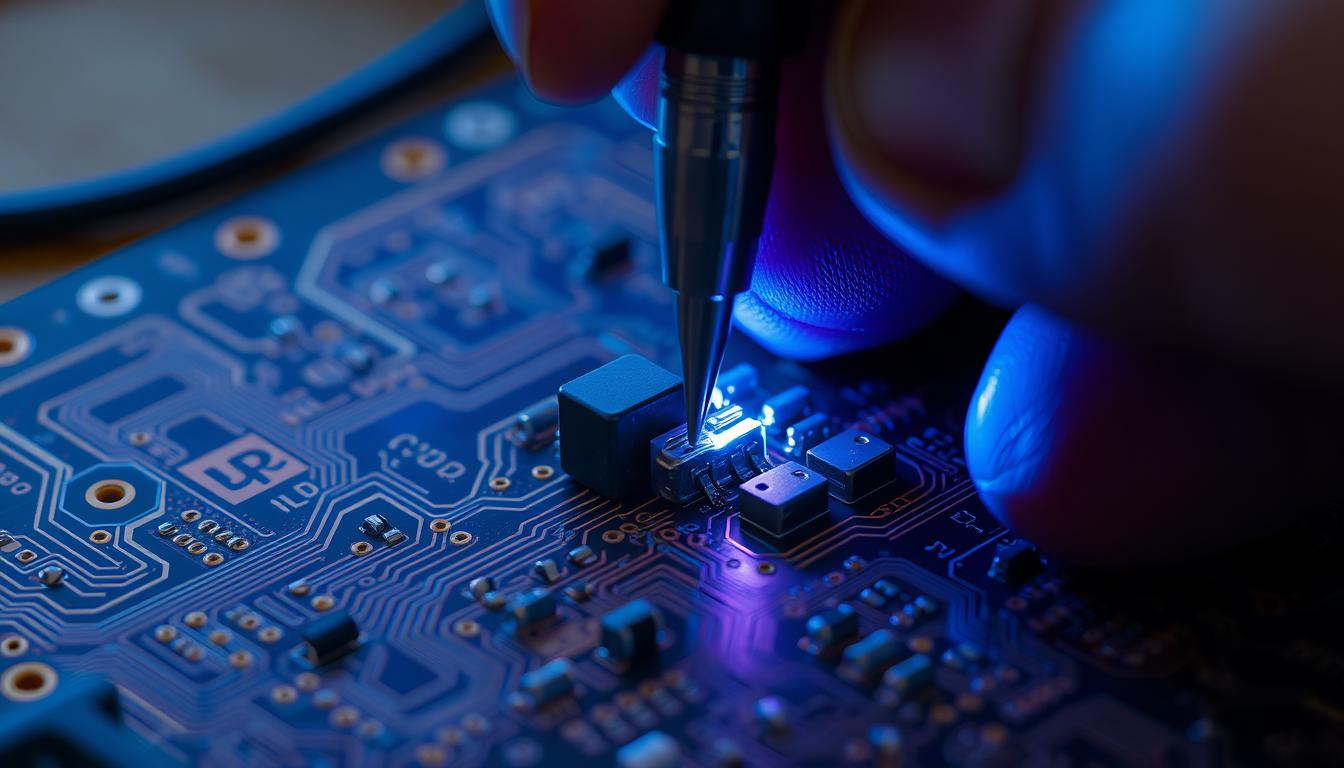
Start with PCB soldering basics. Hold the iron at a 45-degree angle, touching both the pad and component lead. Add solder until it flows smoothly around the joint. Keep the iron on for 2-3 seconds to avoid overheating.
For wire joining methods, match solder gauge to wire thickness. Thin wires (22-26 AWG) need low-temperature settings. Thicker wires may require higher heat.
| Challenge |
Solution |
| Solder Bridges |
Use a desoldering braid to remove excess solder between pins |
| Cold Joints |
Reheat and add a tiny bit more solder |
| Component Damage |
Use heat sinks on sensitive parts |
Practice adapting techniques for different materials. Thick wires often need flux for clean wire joining methods. Fine-pitch PCBs require a fine-tipped iron. Regularly tin the iron’s tip to prevent oxidation. With consistent practice, these steps become second nature, making complex projects easier.
Safety Precautions When Working with Transformer Soldering Tools
Keeping soldering safety in mind is key when using transformer soldering tools. These tools can get hot and release harmful fumes. To stay safe, follow these steps.
Proper Ventilation Requirements
Good electronics workshop ventilation is essential to clear out toxic fumes. Soldering can release harmful particles that affect your lungs. Here’s how to keep your air clean:
- Desk fans directed away from your face
- Portable fume extractors (e.g., Hakko FX-300 or X-Tracta)
- Open windows for cross-ventilation
Handling Hot Tools Safely
To avoid burns, follow these burn prevention tips:
| Heat-resistant mat |
Protects surfaces from heat |
| Insulated gloves |
Blocks accidental contact with hot tips |
| Adjustable stand |
Keeps the iron upright when not in use |
Emergency Procedures for Burns and Accidents
If you get burned, act fast:
- Run cool (not ice-cold) water over the affected area for 10-15 minutes
- Cover minor burns with sterile gauze
- Seek medical help for blisters or third-degree burns
“Never apply butter or oils to burns—they can worsen injuries.”
Always keep your workspace tidy and tools in their place. This helps prevent accidents. Safety should always be your first thought.
DIY Electronics Projects Perfect for Transformer Soldering Irons
Transformer soldering irons are great for electronics projects at any skill level. They’re perfect for your next soldering projects. Here’s how to use them:
Beginner-Friendly Circuit Repairs
Begin with simple electronic repairs to get better. Fix broken headphones, game controllers, or LED lights. These soldering projects are easy and teach you precision.
- Example: Reconnecting severed wires in a smartphone charger
- Tools: Basic solder, desoldering braid, multimeter
- Time: 30 mins–2 hours
Intermediate Level Custom Builds
Try DIY circuits like audio amplifiers or smart home sensors. Transformer irons keep a steady heat. This is key for custom electronics.
- Example: Building an Arduino-powered LED strip controller
- Components: Resistors, capacitors, PCB boards
- Time: 4–6 hours
Advanced Electronic Art Installations
Make big custom electronics like interactive installations or retrofitted robots. The iron’s strength is great for complex PCBs.
- Example: A motion-activated light sculpture with microcontroller boards
- Tools: High-temp solder, flux pen, oscilloscope
- Time: 8–20 hours
| Project Type |
Examples |
Difficulty |
Time |
| Beginner |
Headphone repairs, LED fixes |
Easy |
1–2 hours |
| Intermediate |
Amplifiers, smart home devices |
Moderate |
4–6 hours |
| Advanced |
Interactive art, robotics |
Expert |
8+ hours |
Maintenance Tips to Extend the Life of Your Soldering Iron
Proper soldering iron care and tool maintenance keep your transformer soldering iron working well for years. Cleaning the tip after each use and tinning it regularly stops corrosion. This keeps the iron’s heat efficiency high. Follow these steps to make your electronics tool last longer:
- Wipe the tip with a damp sponge after use to remove excess solder residue.
- Apply fresh solder to the tip (tinning) before turning it off to form a protective layer.
- Store the iron in a dry place with the tip protected by a ceramic stand.
Every 3-6 months:
- Inspect the power cord for fraying and replace damaged cables immediately.
- Clean oxidation from electrical contacts using isopropyl alcohol and a cotton swab.
- Replace worn tips using manufacturer-approved replacements to preserve performance.
| Issue |
Solution |
| Slow heat response |
Check tip cleanliness and re-tin the surface |
| Handle warmth during use |
Ensure proper ventilation and unplug for cooling breaks |
| Tip flaking or pitting |
Replace the tip and clean the barrel connection |
Avoid sudden temperature changes when heating or cooling. Small habits like these make soldering iron care a routine. This saves money and avoids frustration. Make maintenance a priority to keep your tool in top shape for decades.
Accessories That Complement Your Transformer Soldering Iron
Starting a soldering session right is key. Accessories like iron holders and cleaning tools make a basic tool into a full workstation. They boost safety, precision, and keep your space tidy.
Must-Have Stands and Holders
Iron holders keep tools safe when not in use. Basic stands hold irons up, while weighted ones with sponges add stability. Look for models like the Weller WS100 or X-Acta ProStand, which have brass wool trays for easy tip care. Storing tools right prevents burns and extends their life.
Tip Varieties and Their Specific Uses
Choosing the right soldering iron tips is crucial. Here’s a quick guide:
| Tip Type |
Use Case |
Best For |
| Conical |
Small SMD components |
Precision repairs |
| Chisel |
Large joints |
Electronics assembly |
| Bevel |
Flat surfaces |
PCB work |
Make sure your iron tips match your iron model. Tips like Hakko B8 or Metcal H500 need to fit your iron’s tip size for best heat transfer.
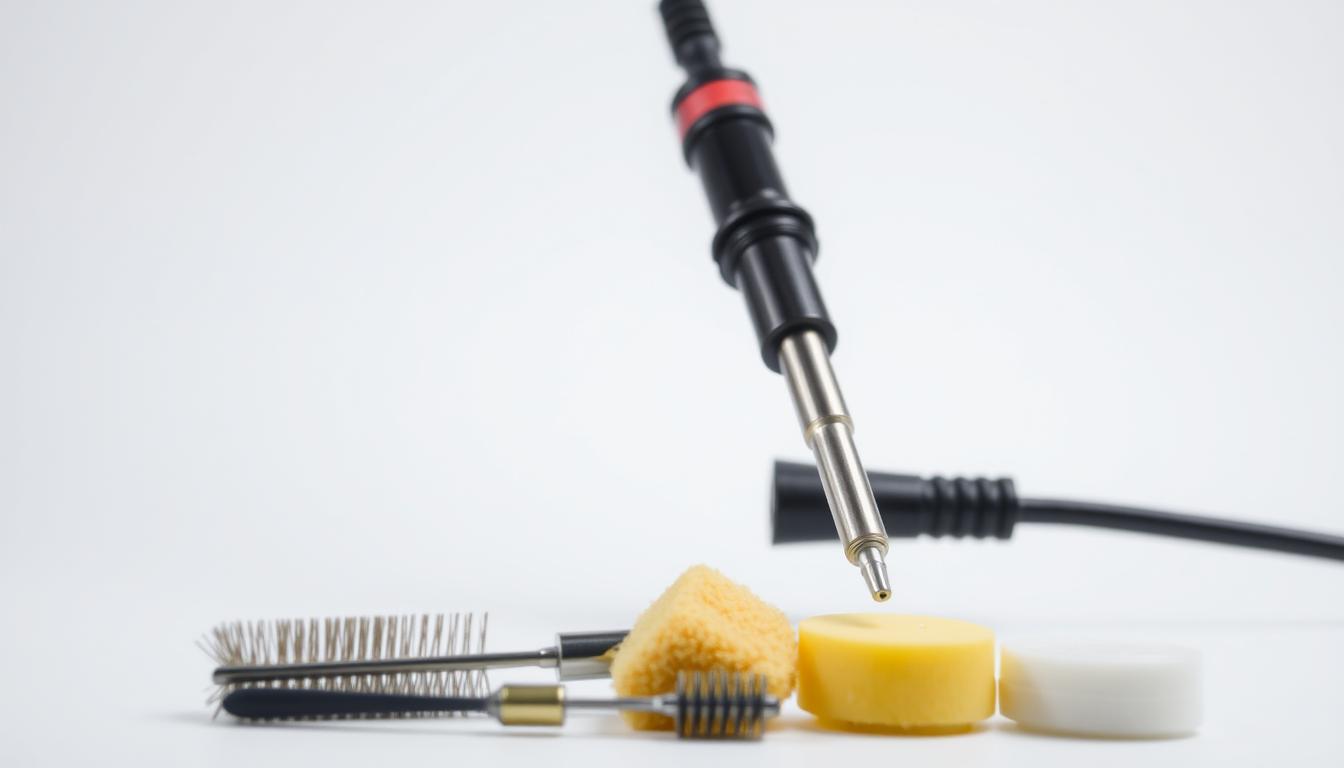
Cleaning Tools for Optimal Performance
- Cleaning tools like brass wool remove oxides without damaging tips
- Moisture-free sponges (e.g., Pacey Solder Sponge) prevent moisture buildup
- Chemical cleaners like Chip Quik Tip Tinner dissolve stubborn residues
Adding extras like anti-static mats and magnification arms completes your setup. Quality soldering accessories mean better performance for years.
Troubleshooting Common Issues with Transformer Soldering Irons
Even top-notch transformer soldering irons can run into soldering iron problems as they age. This guide will help you fix issues like unstable heat, faulty connections, and worn parts. Let’s go through each step.
„Preventive checks can extend tool life by 30% or more,” says the soldering troubleshooting experts at TechTool Repair Labs.
First off, check the heating element. If your iron heats unevenly or can’t get hot enough, look at the element. Oxidation or cracks mean it’s time for electronics tool repair. If you can, replace the element yourself. Many tools have modular designs.
For ongoing soldering iron problems:
- Make sure the power supply voltage is right for your tool.
- Use a multimeter to check if the heating coils have continuity.
- Check if any terminal block connections are loose and need tightening.
Mechanical issues like loose handles or frayed cables need quick action. Clean carbon buildup from control knobs with isopropyl alcohol. If the iron’s tip gets oxidized fast, consider a tip cleaner station. For heating element issues that can’t be fixed easily, reach out to certified repair shops. Brands like Weller or Hakko offer warranty-covered electronics tool repair.
- Replaceable tips can solve 60% of minor temperature problems
- Annual maintenance cuts downtime by 45%
If you’re unsure, always follow the manufacturer’s safety guidelines. Tackling problems early can turn big soldering troubleshooting issues into simple fixes. Stay ahead to keep your tool working at its best!
Conclusion: Taking Your DIY Skills to New Heights with Transformer Soldering Irons
Transformer soldering irons are more than tools—they’re gateways to DIY electronics mastery. They offer precise heat control and are built to last. This makes them perfect for turning ideas into professional-quality results.
These tools are great for both fixing circuits and making custom gadgets. They help electronics hobby enthusiasts to innovate with confidence.
Investing in a quality transformer soldering iron is key to soldering skill development. Start with small projects like fixing household electronics. Then, move on to more complex builds. Each project helps you get better, building your creativity.
Remember, safety practices and regular maintenance are important. They keep your tools working well for years.
Join online forums like Reddit’s r/Electronics or Instructables to share your work and learn from others. These communities are full of inspiration and problem-solving ideas. Every project you complete with the right tools boosts your confidence.
As you get better, remember that practice and quality gear are essential. Whether you’re just starting or you’re already skilled, transformer soldering irons are great partners. Let your curiosity guide you, and watch your DIY journey grow into a rewarding, lifelong adventure.
FAQ
What is a transformer soldering iron?
A transformer soldering iron is a tool for soldering. It uses transformer technology for stable power. This makes it great for both pros and DIY fans.
How do transformer soldering irons differ from regular soldering irons?
Transformer irons have more wattage and temperature control than regular ones. They give steady power for complex projects. Their design also makes them easier to use.
What wattage should I look for in a transformer soldering iron?
Choose wattage based on your project. For small tasks, 40W is good. For bigger jobs, 200W might be needed. Match wattage to your project’s heat needs.
Are transformer soldering irons safe to use?
Yes, they’re safe if used right. Always ventilate, wear heat-resistant gloves, and watch the hot tip. Keeping your iron in good shape also helps.
What are the best brands for transformer soldering irons?
Top brands include Weller, Hakko, and X-Tronic. They offer models for all skill levels and budgets. These irons are reliable and enhance your soldering.
How can I extend the life of my soldering iron?
Clean the tip, store it right to avoid corrosion, and check for wear. Simple care boosts your iron’s life and performance.
What accessories should I consider for my transformer soldering iron?
Get a soldering stand, various tips, cleaning tools, and safety gear. Good accessories improve your setup and soldering safety.
What techniques are essential for using a transformer soldering iron?
Learn to tin tips, control solder flow, and work with different materials. Practice these to get better at soldering.
What should I do if my soldering iron temperature fluctuates?
Check for power supply issues, worn parts, or loose connections. Troubleshoot to find and fix the problem.
Can I use transformer soldering irons for delicate electronics projects?
Yes! They’re perfect for delicate electronics. They offer stable heat for precise soldering without harming sensitive parts.